Next.js is a robust SSR framework that offers server-side rendering and static site generation for enhanced performance. Pair it with Next Auth, a versatile authentication solution, and you have a powerful duo for secure user authentication.
Today we will explore how to create a login flow that authenticates users to an external API. Users will login using their email address and password after which a JWT is generated. The JWT is stored as a cookie which means that it is sent with all the next requests (pun intended). We have several ways to policy authentication and authorization with Next Auth. We can enforce it on the middleware level, in a server component using Next AuthgetServerSession or even on the client side using useSession from Next Auth
Next Auth supports both the Next.js 13 app router structure as well as the pages router. This article will be using the app router path. The application structure is as follows:

In this article we will only explore a relatively specific use case with a custom external API. However, Next Auth supports a plethora of authentication techniques like FusionAuth, Google Sign-in, OAuth…etc
The external API has an authentication endpoint POST /api/auth/login which accepts a username and password pair in the request body. If authentication was successful, the request to the external API will send a 200 status response, otherwise a 4xx response.
The JSON response body of a successful authentication request will contain a user object and a token object like the sample response below:
{
    "user": {
        "id": 1,
        "username": "[email protected]",
        "email": "[email protected]",
        "fullname": "John Doe",
        "role": "SUPER",
        "createdAt": "2021-05-30T06:45:19.000Z",
        "name": "John Doe"
    },
    "token": "ey..."
}
Every subsequent response to the external API needs to have the token sent in the Authorization header as a Bearer token.
Now that we have sufficient context in place, let’s get into the code (finally!)
Step 0 is adding the Next Auth NPM package to your project. You can choose to do a yarn add next-auth or a npm install next-auth .
Next you will need to add a secret to your env file. Although during development you could leave this empty, during production it would raise an error. More information on how this can be added is available at the official Next Auth documentation.
Using Next Auth, you can provide the user one or more login options (ex: credential login and social login). Each login method is enabled using its relevant provider. We will be using the credential provider which is useful when there is an existing system to authenticate users against (in our case this is the external API).
Implementing an authentication flow with Next Auth is truly a breeze. Create a file /app/api/auth/[…nextauth]/route.ts. The [...nextauth] is kind of a catch-all route for requests beginning with /api/auth/*. The content should be as follows:
import { authenticate } from "@/services/authService"
import NextAuth from "next-auth"
import type { AuthOptions } from "next-auth"
import CredentialsProvider from "next-auth/providers/credentials"

export const authOptions: AuthOptions = {
  providers: [
    CredentialsProvider({
      name: 'Credentials',
      credentials: {
        email: { label: "Email", type: "text" },
        password: { label: "Password", type: "password" }
      },
      async authorize (credentials, req) {
        if (typeof credentials !== "undefined") {
          const res = await authenticate(credentials.email, credentials.password)
          if (typeof res !== "undefined") {
            return { ...res.user, apiToken: res.token }
          } else {
            return null
          }
        } else {
          return null
        }
      }
    })
  ],
  session: { strategy: "jwt" }
}

const handler = NextAuth(authOptions)

export { handler as GET, handler as POST }
We can add multiple sign in methods (if needed) to the providers: [] array, but here, we have added only the credential provider with a few configurations. The credentials object determine what fields will be shown on the login screen. And yes, Next Auth comes built-in with a simple default login screen accessible at <your Next.js server>/api/auth/signin
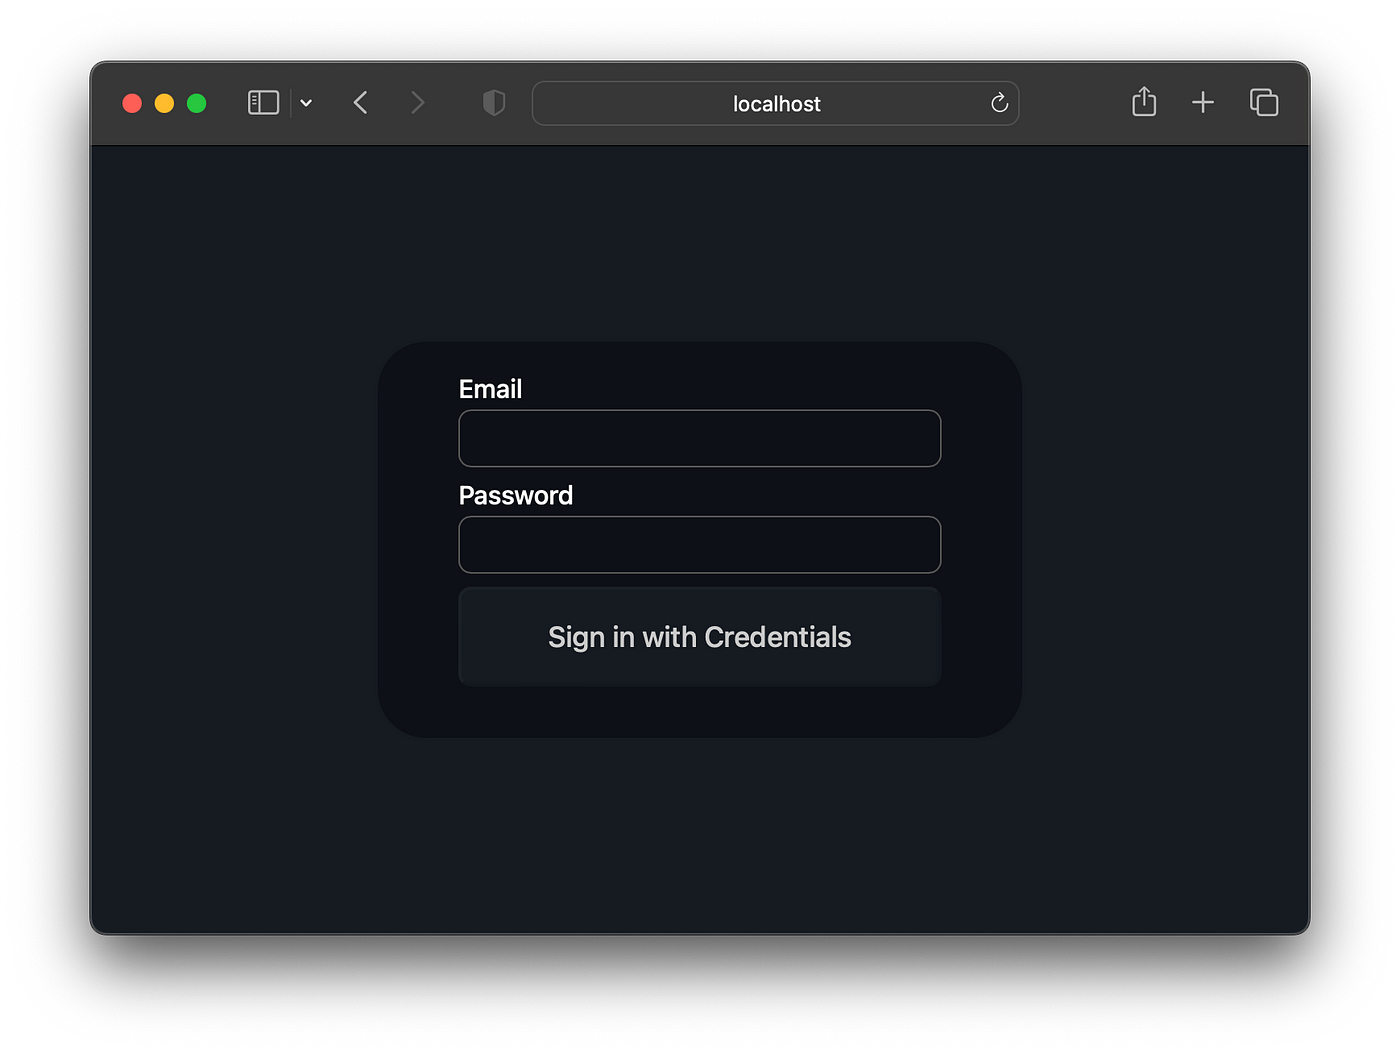
The keys in the credential object will be used as the names for the input fields. And any other HTML properties (ex: label and type) can be provided per-field too. If you need to create a totally custom page, fret not, you can do so by defining your own pages as mentioned in the Next Auth documentation.
The next point of interest is the authorize(credentials, req) callback. The credentials object will contain the key-value mapping for the submitted form (in this case, accessible via credentials.email and credentials.password). The req object will contain details about the request so it is possible to maybe check the IP address or user-agent during the authorization process. The authenticate() function sends a request to the external API and returns undefined (if the request failed) or the success response (provided earlier in the article). If the authorize() method returns null Next Auth translates that as meaning authentication has failed and shows a message on the sign in form accordingly.
To use the credential provider, it is necessary to set the session strategy as jwt . Either way, we need JWT as the session mechanism, so it’s all good!
Now that we have a sign in page and all, we will create a protected route to test our login flow with. We will first look how we can enforce it at the middleware level.
Next Auth has a built-in middleware called withAuth . To use this, create a new file in the root called middleware.ts with the following content:
import { withAuth } from "next-auth/middleware"

// middleware is applied to all routes, use conditionals to select

export default withAuth(
  function middleware (req) {
  },
  {
    callbacks: {
      authorized: ({ req, token }) => {
        if (
          req.nextUrl.pathname.startsWith('/protected') &&
          token === null
        ) {
          return false
        }
        return true
      }
    }
  }
)
The authorized callback is invoked to check if the user is authorized (duh!). This means that we can add our own rules based on the information in req and token . In this use case, users can only access routes that start with /protected only if they have been authenticated (to be precise, if a token is available). If we return false the middleware will redirect to the sign in page (specifically the <your Next.js server>/api/auth/signin route from earlier unless you have defined a custom route). Later on, we will see how we can attach the user object from the external API onto the token so that we can do role-based access control as well!
What if we want to show a sign in button on a page? We should be able to get the authentication status at the component level (server component level). We can create a page /app/public/page.tsx with the following code:
import { getServerSession } from "next-auth/next"
import type { NextRequest } from "next/server"
import { authOptions } from "@/app/api/auth/[...nextauth]/route"

export default async function Protected (req: NextRequest): Promise<any> {
  const session = await getServerSession(authOptions)

  return (
    <div className='grid grid-cols-2 text-white p-4'>
      <div>
        {
          session !== null
            ? <h1 className='leading-loose text-[15rem] font-extrabold text-accent'>
                Hi {session?.user.name}!
              </h1>
            : <a className='btn btn-primary' href='/api/auth/signin'>Sign in</a>
        }
      </div>
    </div>
  )
}
Since this URL does not start with /protected, it will not be affected by our Next Auth middleware from earlier. Using getServerSession we can get the current session (or null if the user is not signed in). This way, we can show a ‘Sign in’ button if the user is not logged in or a greeting with the user’s name if they are indeed logged in.
Next Auth has a useSession hook that can be used to get session data and authenticated status on the client side. Before this hook can be used, the components must be wrapped in a SessionProvider because behind the scenes, it uses React Context.
We can create a file /app/context/client-provider.tsx with the following content:
'use client'

import { SessionProvider } from "next-auth/react"

export default function Provider ({
  children,
  session
}: {
  children: React.ReactNode
  session: any
}): React.ReactNode {
  return <SessionProvider session={session}>
    {children}
  </SessionProvider>
}
We can then use this on a server side component (most probably the root layout.tsx)
import '@/app/globals.css'
import React from 'react'
import { Montserrat } from 'next/font/google'
import Provider from "@/app/context/client-provider"
import { getServerSession } from "next-auth/next"
import { authOptions } from "@/app/api/auth/[...nextauth]/route"

const montserrat = Montserrat({ subsets: ['latin'] })

export const metadata = {
  title: 'Create Next App',
  description: 'Generated by create next app'
}

export default async function RootLayout ({
  children
}: {
  children: React.ReactNode
}): React.ReactNode {
  const session = await getServerSession(authOptions)

  return (
    <html lang="en">
      <body className={`${montserrat.className} bg-primary min-h-screen min-w-screen`}>
        <Provider session={session}>
          {children}
        </Provider>
      </body>
    </html>
  )
}
Why can’t we wrap the SessionProvider itself in the layout.tsx ? Since SessionProvider uses React Context (without defining the boundary using "use client”), it can’t be imported into a server side component. Why not use it in a client component then? The SessionProvider needs to be provided the session object which can only be obtained using getServerSession, which, you guessed it, is a server side function! The pattern we can follow in a situation like this is to create a new client side component (client-provider.tsx in this case) to accept the server side object that needs to be passed, as a prop. We can import this new component into the layout.tsx (which is a server side component) and pass the session obtained from getServerSession() onto the session prop!
Now since all of that is taken care of, we can use useSession inside a client component:
'use client'

import { useSession } from "next-auth/react"
import React, { useState } from "react"

export default function ClientSideRoot (): any {
  const { data: session } = useSession()

  const [shown, setShown] = useState<boolean>(false)
  const clickHandler = (): void => {
    setShown(!shown)
  }

  return (
    <div className='grid grid-cols-2 text-white p-4'>
      <div>
        <h1 className='leading-loose text-[15rem] font-extrabold text-accent'>
          Hi {session?.user.name}!
        </h1>
      </div>
      <div>
        <p>Protected client page</p>
        <button className="btn btn-primary" onClick={clickHandler}>Toggle</button>
        {shown
          ? <pre>{JSON.stringify(session, null, 2)}</pre>
          : null
        }
      </div>
    </div>
  )
}
By default, the session token will contain the basic name and email. But in our use case, we have other data (like the role and external API token) that needs to persist on the session. Next Auth is customizable and offers callbacks to modify the session content. We can edit the Next Auth configuration in /app/api/auth/[…nextauth]/route.ts :
  // ...
  session: { strategy: "jwt" },
  callbacks: {
    async session ({ session, token, user }) {
      const sanitizedToken = Object.keys(token).reduce((p, c) => {
        // strip unnecessary properties
        if (
          c !== "iat" &&
          c !== "exp" &&
          c !== "jti" &&
          c !== "apiToken"
        ) {
          return { ...p, [c]: token[c] }
        } else {
          return p
        }
      }, {})
      return { ...session, user: sanitizedToken, apiToken: token.apiToken }
    },
    async jwt ({ token, user, account, profile }) {
      if (typeof user !== "undefined") {
        // user has just signed in so the user object is populated
        return user as JWT
      }
      return token
    }
  }
}
The jwt() callback is called with user when the user first logs in. The user object will be populated with the object that is returned from the authorize function. The object that is returned from the jwt callback is what will be saved on the session cookie.
The session() callback receives the session cookie content in its token parameter. Whatever is returned from this callback is what will be presented when useSession or getServerSession is called.
This way we can customize the token content too. Now that we have access to the apiToken both on the server side and client side, we have the flexibility of initiating authenticated fetch requests from either context.
Source: Medium
 Blogs
Blogs
